It has been really hot and dry lately in New England and water is becoming ever more important. 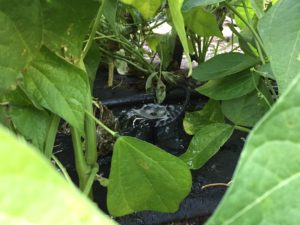 The plants need more of it, and there is less to go around. Here is East Longmeadow they’ve just instituted a voluntary water use ban. What better time to install our drip irrigation system!
We’ve been putting off this project for months, and it turns out it was much easier to install than I thought. Not knowing exactly what we wanted, I decided to try a bunch of different fitting, connections, and spray heads. Here is a summary of how it’s set up.
#1 Connect to Hose
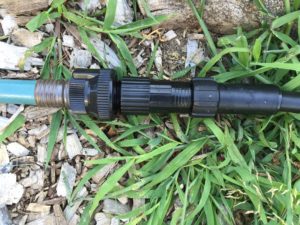 Instead of researching every little detail, we decided to go to Home Depot and get a starter drip irrigation kit. For only $14 it gives all the connections and startups. From there I customized what I needed in terms of extra lines and heads. This starter kit has one 50′ main line and enough drip heads to serve 50′ of beds. The starter kit includes the connection, the pressure regulator, and the backflow preventer to make hookup to the hose a breeze. Just connect the 50′ main line to the tap and you’re ready to start directing the water to the plants.
#2 Tap into the Main Line
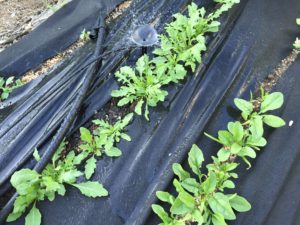
The main line is the 1/2″ tubing which is roughly the same as a hose line. This runs down the center of our 3′ beds. To get the water to the plants, you then can connect drip irrigators or micro sprays directly to the 1/2″ line, or you can split off of the line into 1/4″ line and run directly to the base of each plant. I did a little of both. With the peppers, tomatoes, cauliflower, and brussels sprouts I used a T splitter off of the main line into two 1/4″ tubes (included with the starter kit). I ran these tubes directly to the base of each plant.
#3 Install Drip Irrigators
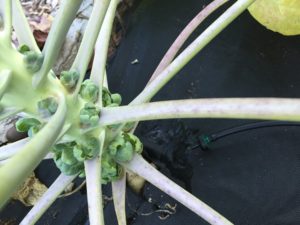
Drip emitter at the base of the brussels sprouts
At the end of the 1/4″ lines I then installed the drip irrigators. I used the compensating drippers which come in 1 gallon per hour (gph), 2 gph, and 4 gph. Be careful, I mistakenly bought some “in-line” drippers which are NOT THE SAME. The first time I turned on the water these sprayed out 10′ into the air. Turns out they’re not meant to go on the end of a 1/4″ line. Make sure you get the compensating drippers.
The benefit is immediate. With the water on now I can barely tell the water is on. The water is going directly to the base of the plants where it is needed. No more watering the paths, no more over spraying, and no more wet leaves to spread disease.
#3 Test and Set Timer
One thing we already had was a water timer to connect directly to the end of the tap. Now we can set it for early morning and get the water to the plants.
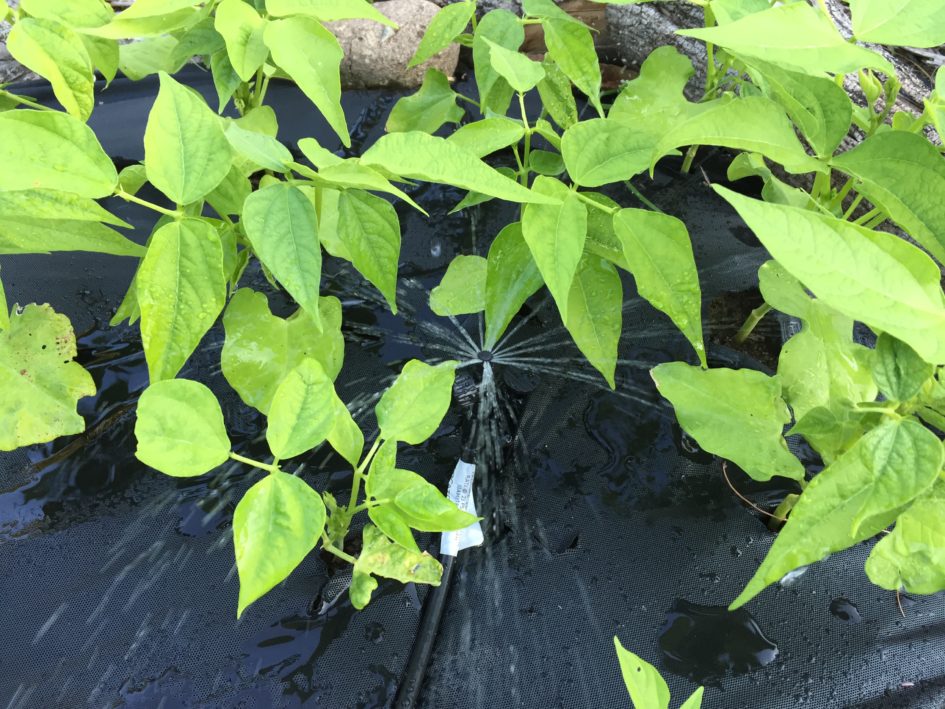
 One thing I also wanted to test was the different heads. There are more than just the drippers. I got a series of different micro sprays which are better served for things like beans, carrots, and salad greens. They can spread the water over a small area. Once the main line is in it’s quite easy to test different sprays and heads. I was able to cover around 400 square feet of area with the starter kit, and an additional 50′ line. Had to buy a few extra splitters, drippers, and micro sprayers but was able to get them all installed.
Share Now!