As some of you may know we’ve had a very busy last few months. In a little over two months we completely redid our whole kitchen, from the floor up (or should I say ground up).
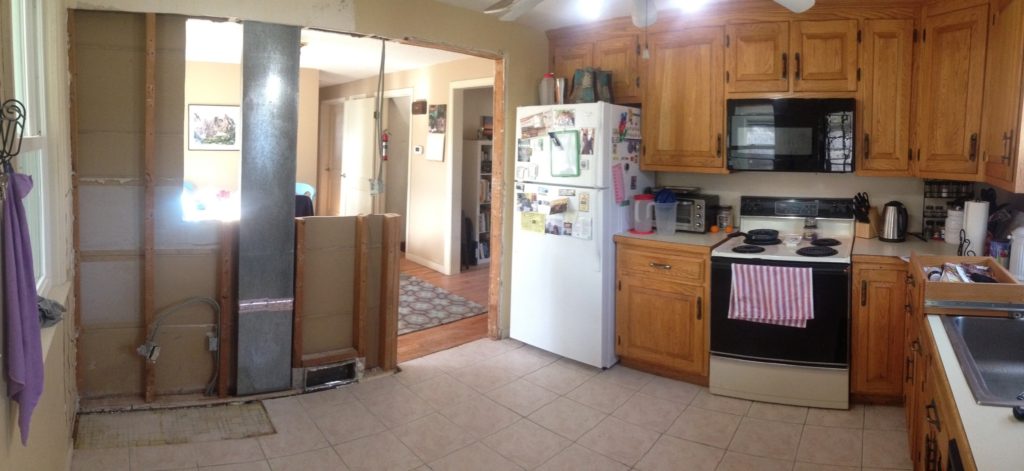
Before! We didn’t get any good ones of what was on that wall, but it wasn’t anything very useful.
Jim has owned his grandfather’s house for about a year and a half. It took me about a week into living here to start making comments about what I would change. About three months later we started by ripping down half a wall. Ok, so it wasn’t just my idea. Jim had ideas about changing the kitchen since he bought it, I (as I usually am) was the kerosene to his fire. It also probably helped that I offered to do a major component of the change and act as overlord foreman to the whole project. Seeing as my memory, focus and attention span are all a bit spotty I’m still in utter shock that we finished it in about two months.
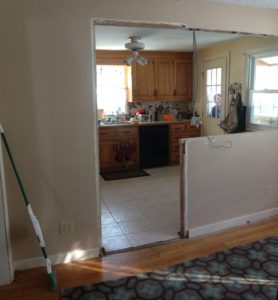
This is the wall from the other side
The kitchen is the first thing people see when they enter our house, and keeping with the mindset of using money and resources to their full potential and advantage we wanted to make sure what we were doing wasn’t just cosmetic, maybe not so necessary things. We also wanted to create an environment that would create a better flow for when we have our next Farm to Table dinner and many other fun gatherings along with raising the value of the house.
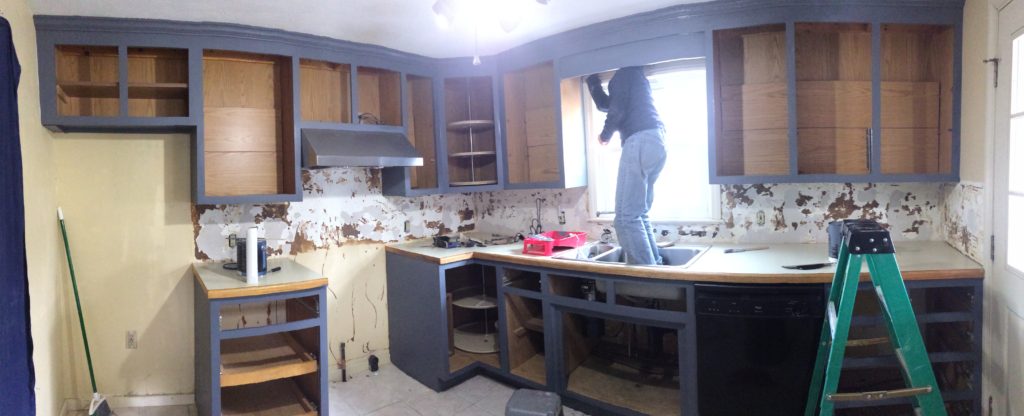
I made sure to get many nice butt shots of Jim while he stood in the sink
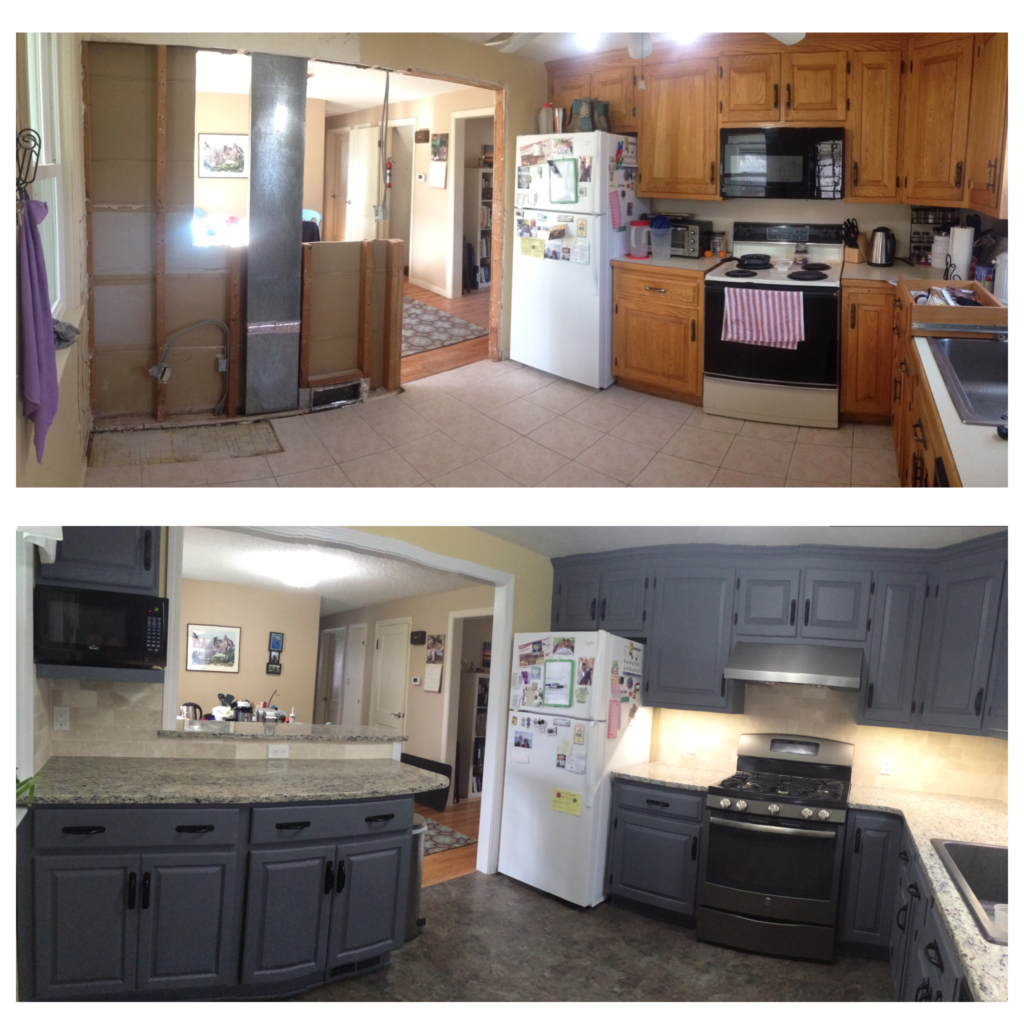
Whenever I tell people about our kitchen I always get excited about the several opportunities we had to use re-use some of the things from the semi-original (redone in the 80’s) kitchen. We kept almost all the solid oak custom cabinets, the hinges and the brass back plates of the handles. We also (although not intentionally) kept the lovely mustard colored laminate as a lovely sub floor to our new cork backed composite new floor.
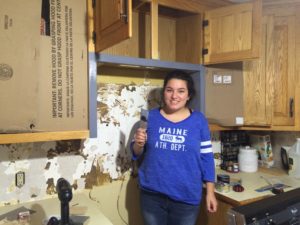
I swear both Jim and I doubled our arm strength after this en devour. Body by DIY
I’ll spare you the nitty gritty details of our two month adventure. If you have any questions though please let me know. It was all very DIY which meant, lots of trial and error and several hundred whoops, oops and assorted swear words. There was a week without a stove, a week and a half with the fridge in the dining room, three weeks without anything in the cupboards, a couple days with no floor and a month with a fine layer of dry wall and saw dust on every flat surface.
What we did ourselves:
-sanding and painting all of the cabinets both old and new
-installing the vent hood and insulating the duct work
-creating a new duct for the floor heating vent
-removal of old laminate back splash
-installation of under cabinet LED lights
-two coats of paint on the ceiling
-two coats of paint on all trim
-painting of the dining room side of the half wall
Things we had done professionally:
-demolition of the wall
-demolition and removal of the old counters
-installation of the new counters
-backsplash
-duct work of the hood so it vents outside
-creation and hook up of the gas line
-moving of the duct that was in the center of the new half wall opening
-floor installation
-new cabinet installation
-new trim
-new electrical outlets
-unhooking and hook-up of the sink
Personally I think it was a nice balance of what we did ourselves and what we had done. Neither of us hold any professional degrees or certificates in home improvement, carpentry or any other useful trades. But I have a history of house painting and other small DIY jobs and Jim has a history in duct works along with some building and DIY. Together we made a fantastic team both in design and execution. Jim tells people I did most of the designing but really we made a lot of the design choices together. It just solidified what I’ve felt about us from the beginning, we make a pretty darn good team.
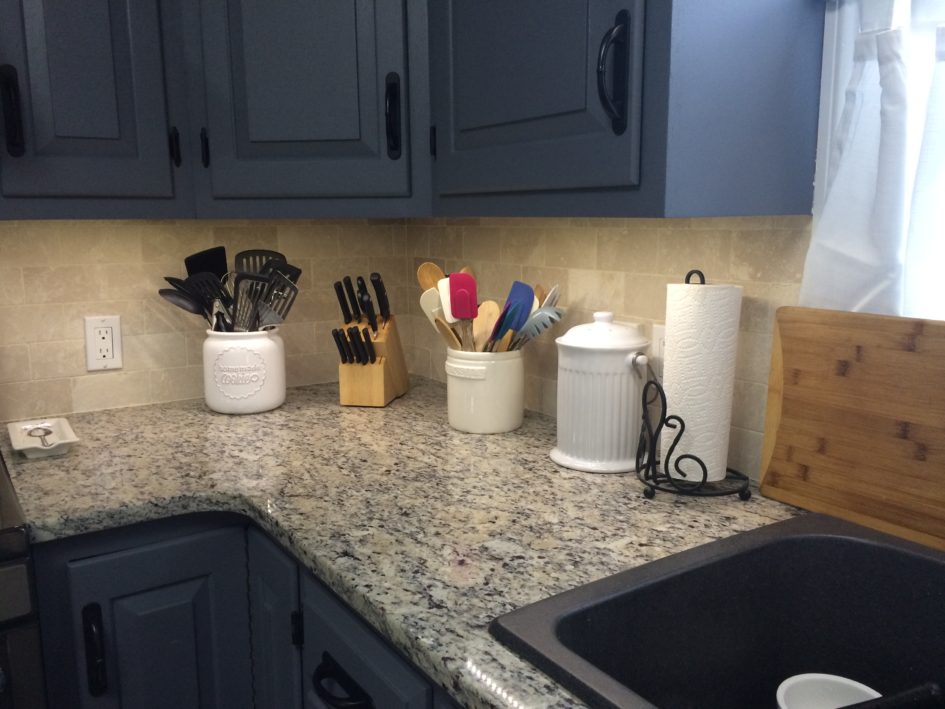
Enjoy the pictures, and from here on out (hopefully) all the food pictures will have a much nicer backdrop.
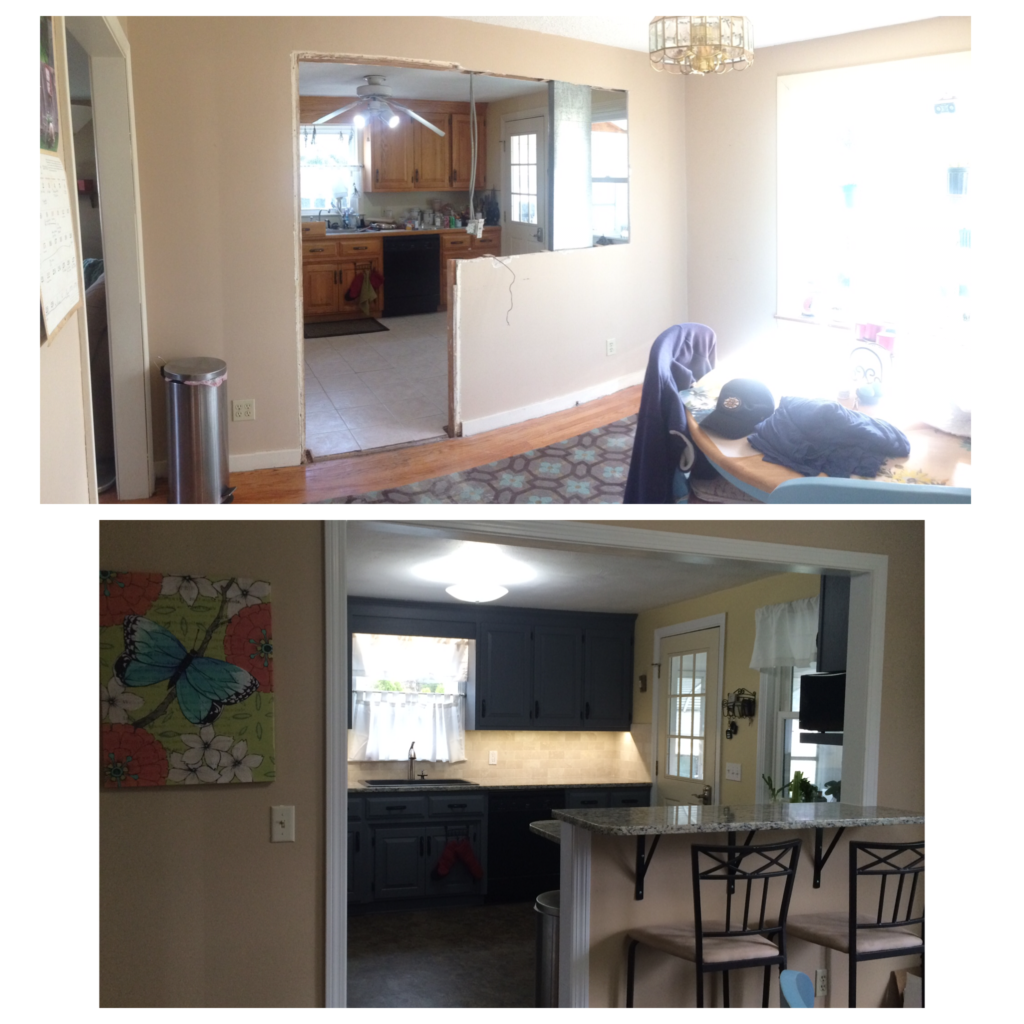
Our cabinet color is a warm blue grey, custom color and we used Benjamin Moore Aura
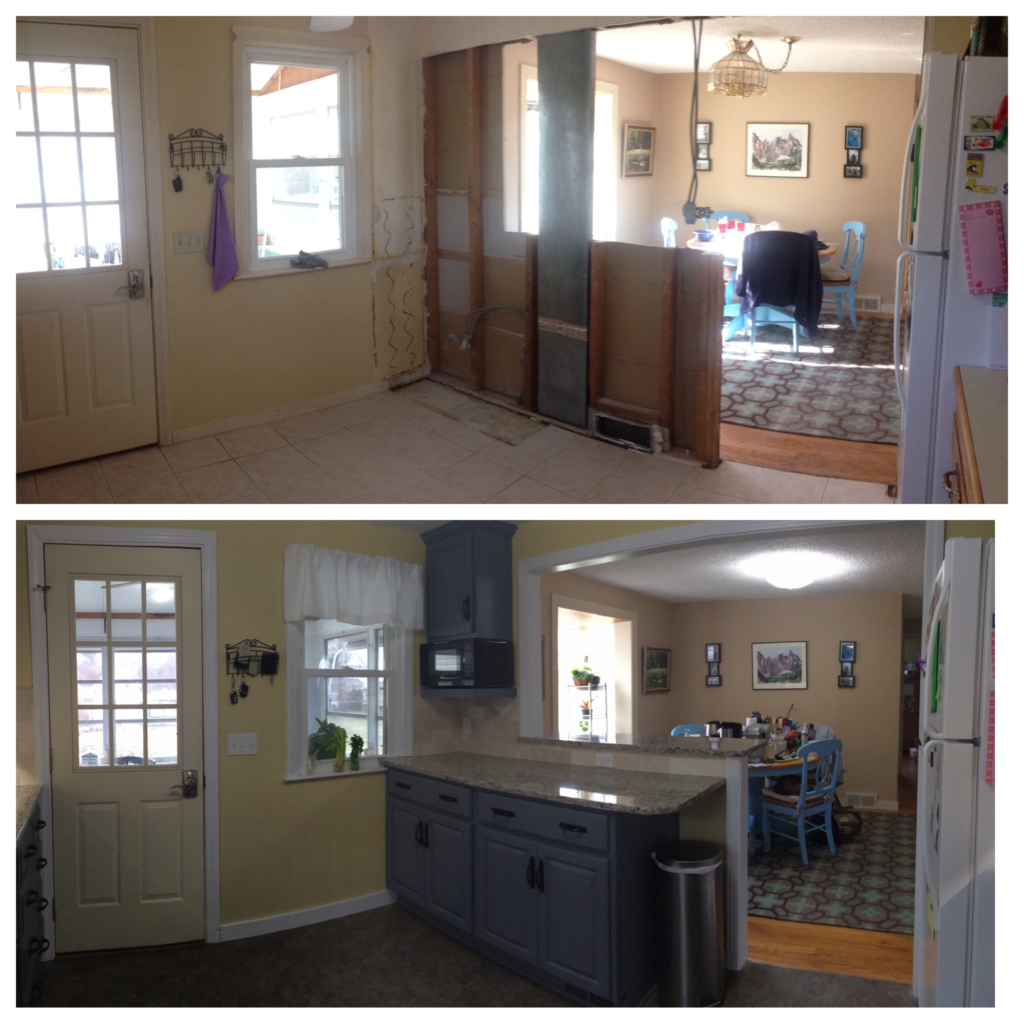
Our floor is a cork backed composite material called COREtec in a grey river stone color
Our Granite is called Santa Cecelia Light
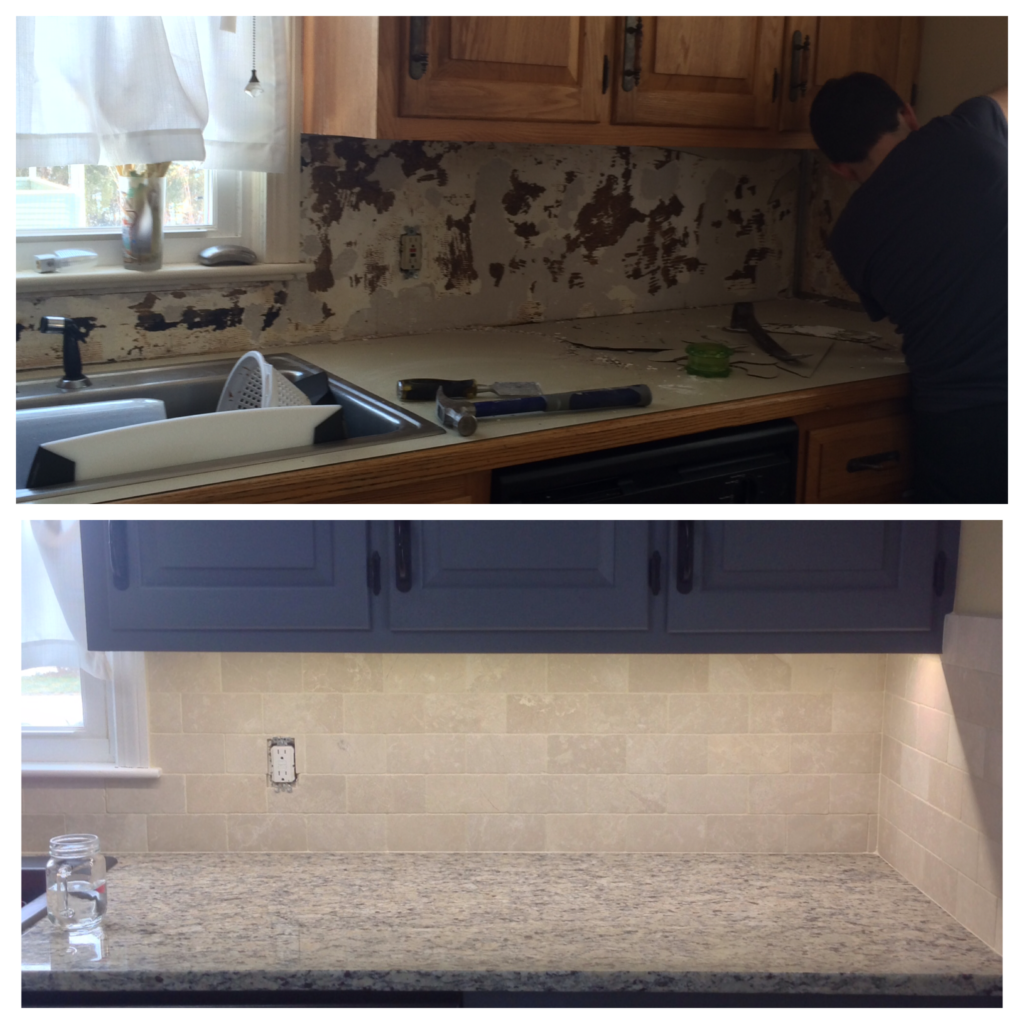
Our back splash is a natural stone called Tumbled Almond Beige