In all our research of chicken coops and how to build them we found very little information on how to build your standard run-of-the-mill “shed style” coop. We found lots of cute little backyard coops(like these fabulously chic coops on the Country Living website), but none the way we imagined. So here I hope to record our process so if anyone happens upon our finished product (and loves it) they can find step-by-step instructions on how to make their very own chicken coop. So here recorded is our process from the ground up (see what I did there 🙂).
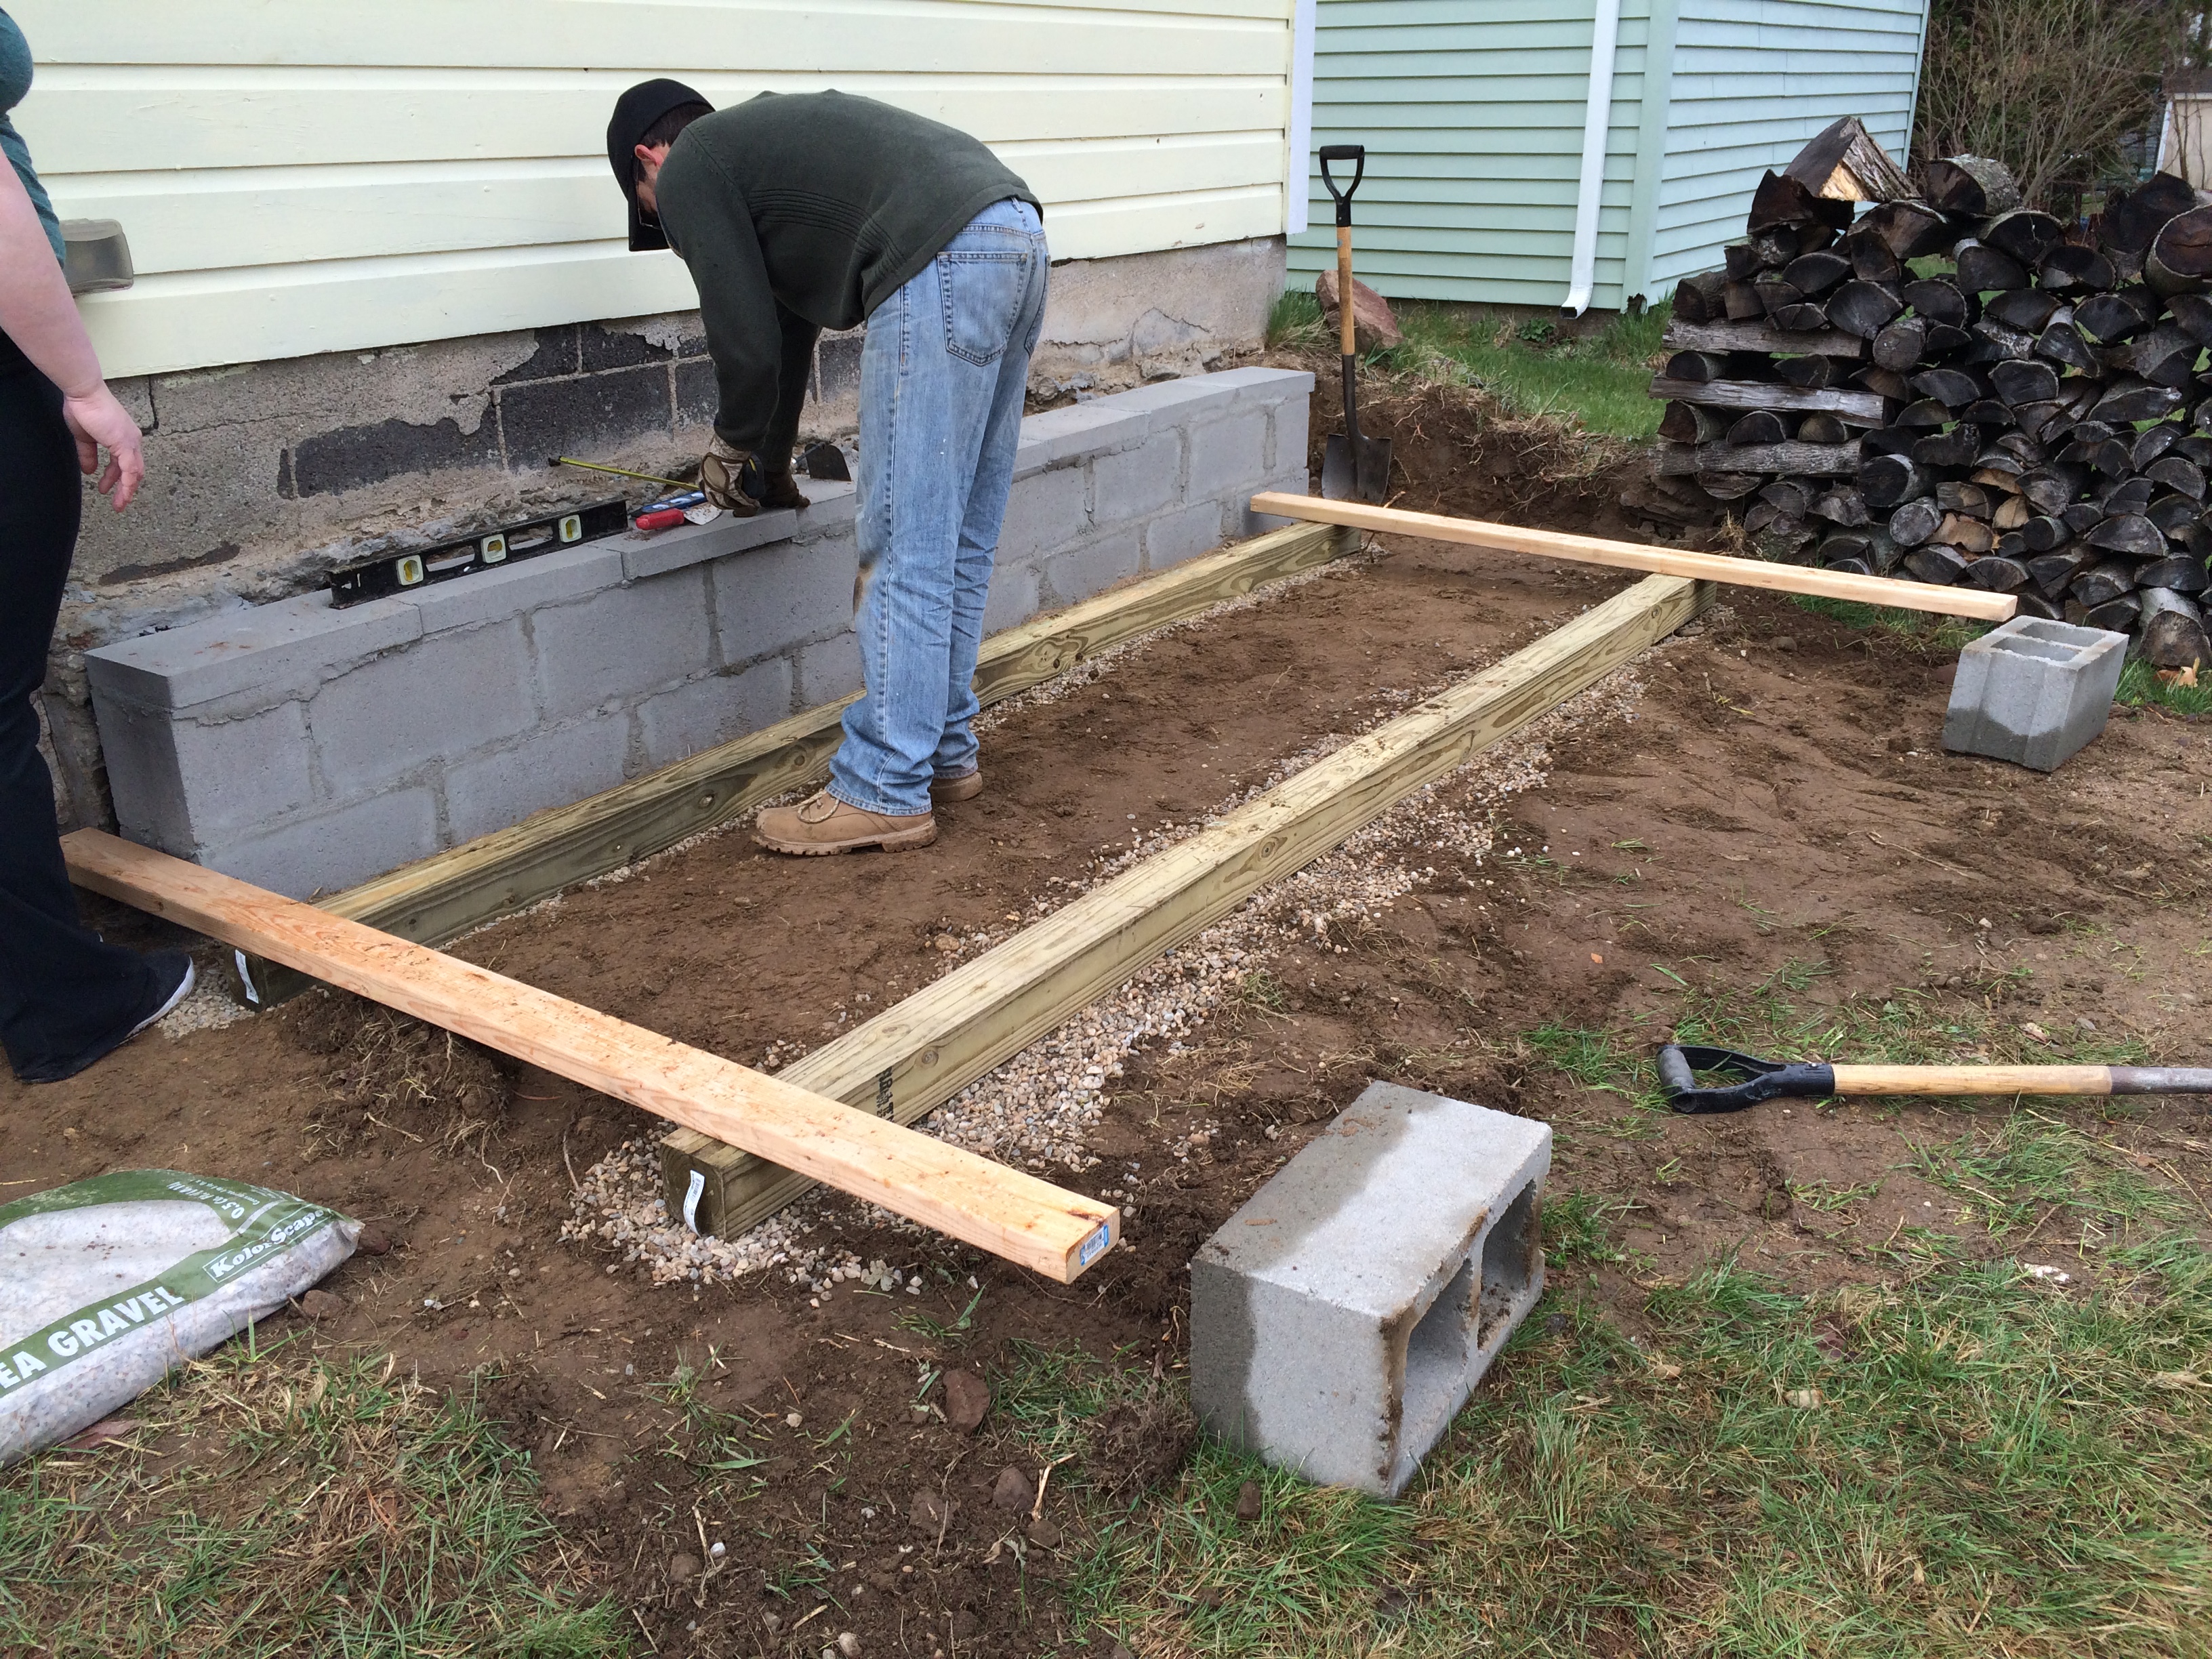
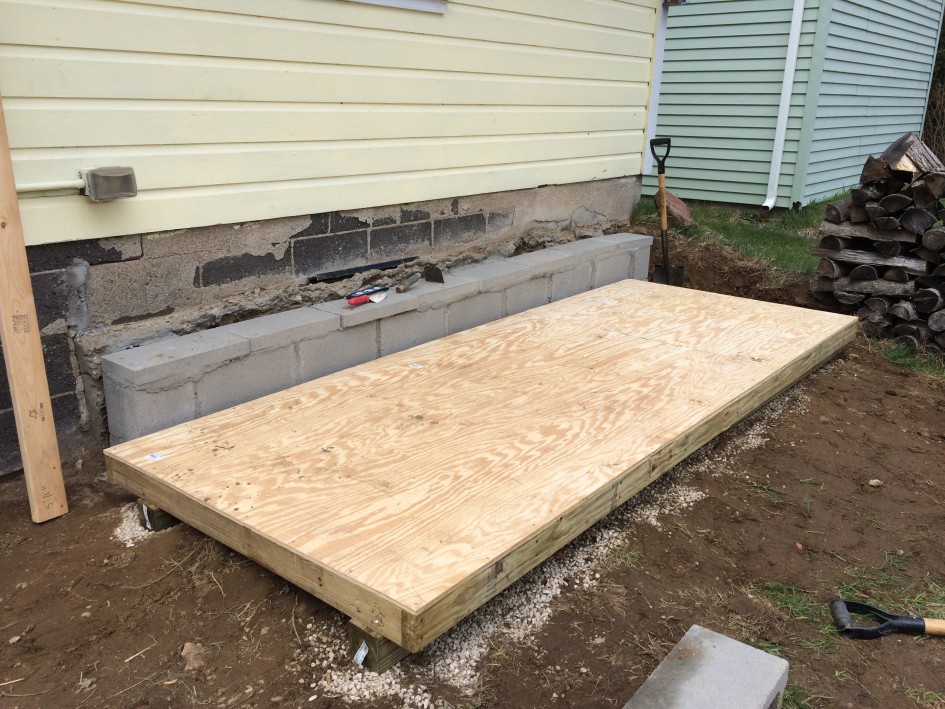
The skids run horizontal, you can see the gravel underneath. (Guest appearance by James’ butt)
In the chilly dampness we battled spotty rain, occasional frigid winds and a surprise hail storm (and all in one day!) and became first time builders with the help of my good friend Elise. Oh New England…why do you do this to us. April showers, blah..blah…blah, but boy that hail! Thank god for weather radars and handy-dandy hand held devices.
With Elise as our foreman (with her H.C Wilcox Technical high school carpentry education) the very first thing we did was prepare the base. James’ research found that most sheds are built on skids, skids on top a base of gravel that can drain. The skids are like 10 foot long, 4″x4″ wide pressure treated wood that the floor rests on. We used Pea Gravel for the gravel base, out of all the types we browsed it was the one that sounded like the size we wanted and that would drain the best. To prep the “foundation” we dug 6″ wide and 2″ deep trenches the length of the boards and smoothed the dirt down. We then filled the trenches with gravel, taking care to level it out. We didn’t mind that the floor tipped forward ever so slightly, it allows drainage if any catastrophes happen.
Notes from the Farmer
There are multiple ways to build a foundation, and not too many how-to’s to build a chicken coop foundation. So instead I did research on shed foundations. Many people build sheds and are more interested in sturdy structure with walls. This is what us novices needed to understand the basics on construction. There were a couple reasons why I settled on the skids. I did not want to put concrete piles into the ground because they are more permanent and harder to remove in case of a change. The skids are a floating foundation and can more easily be removed. Also we could build the foundation and the floor and walls in the same day or weekend. (if we had the time and it didn’t rain)
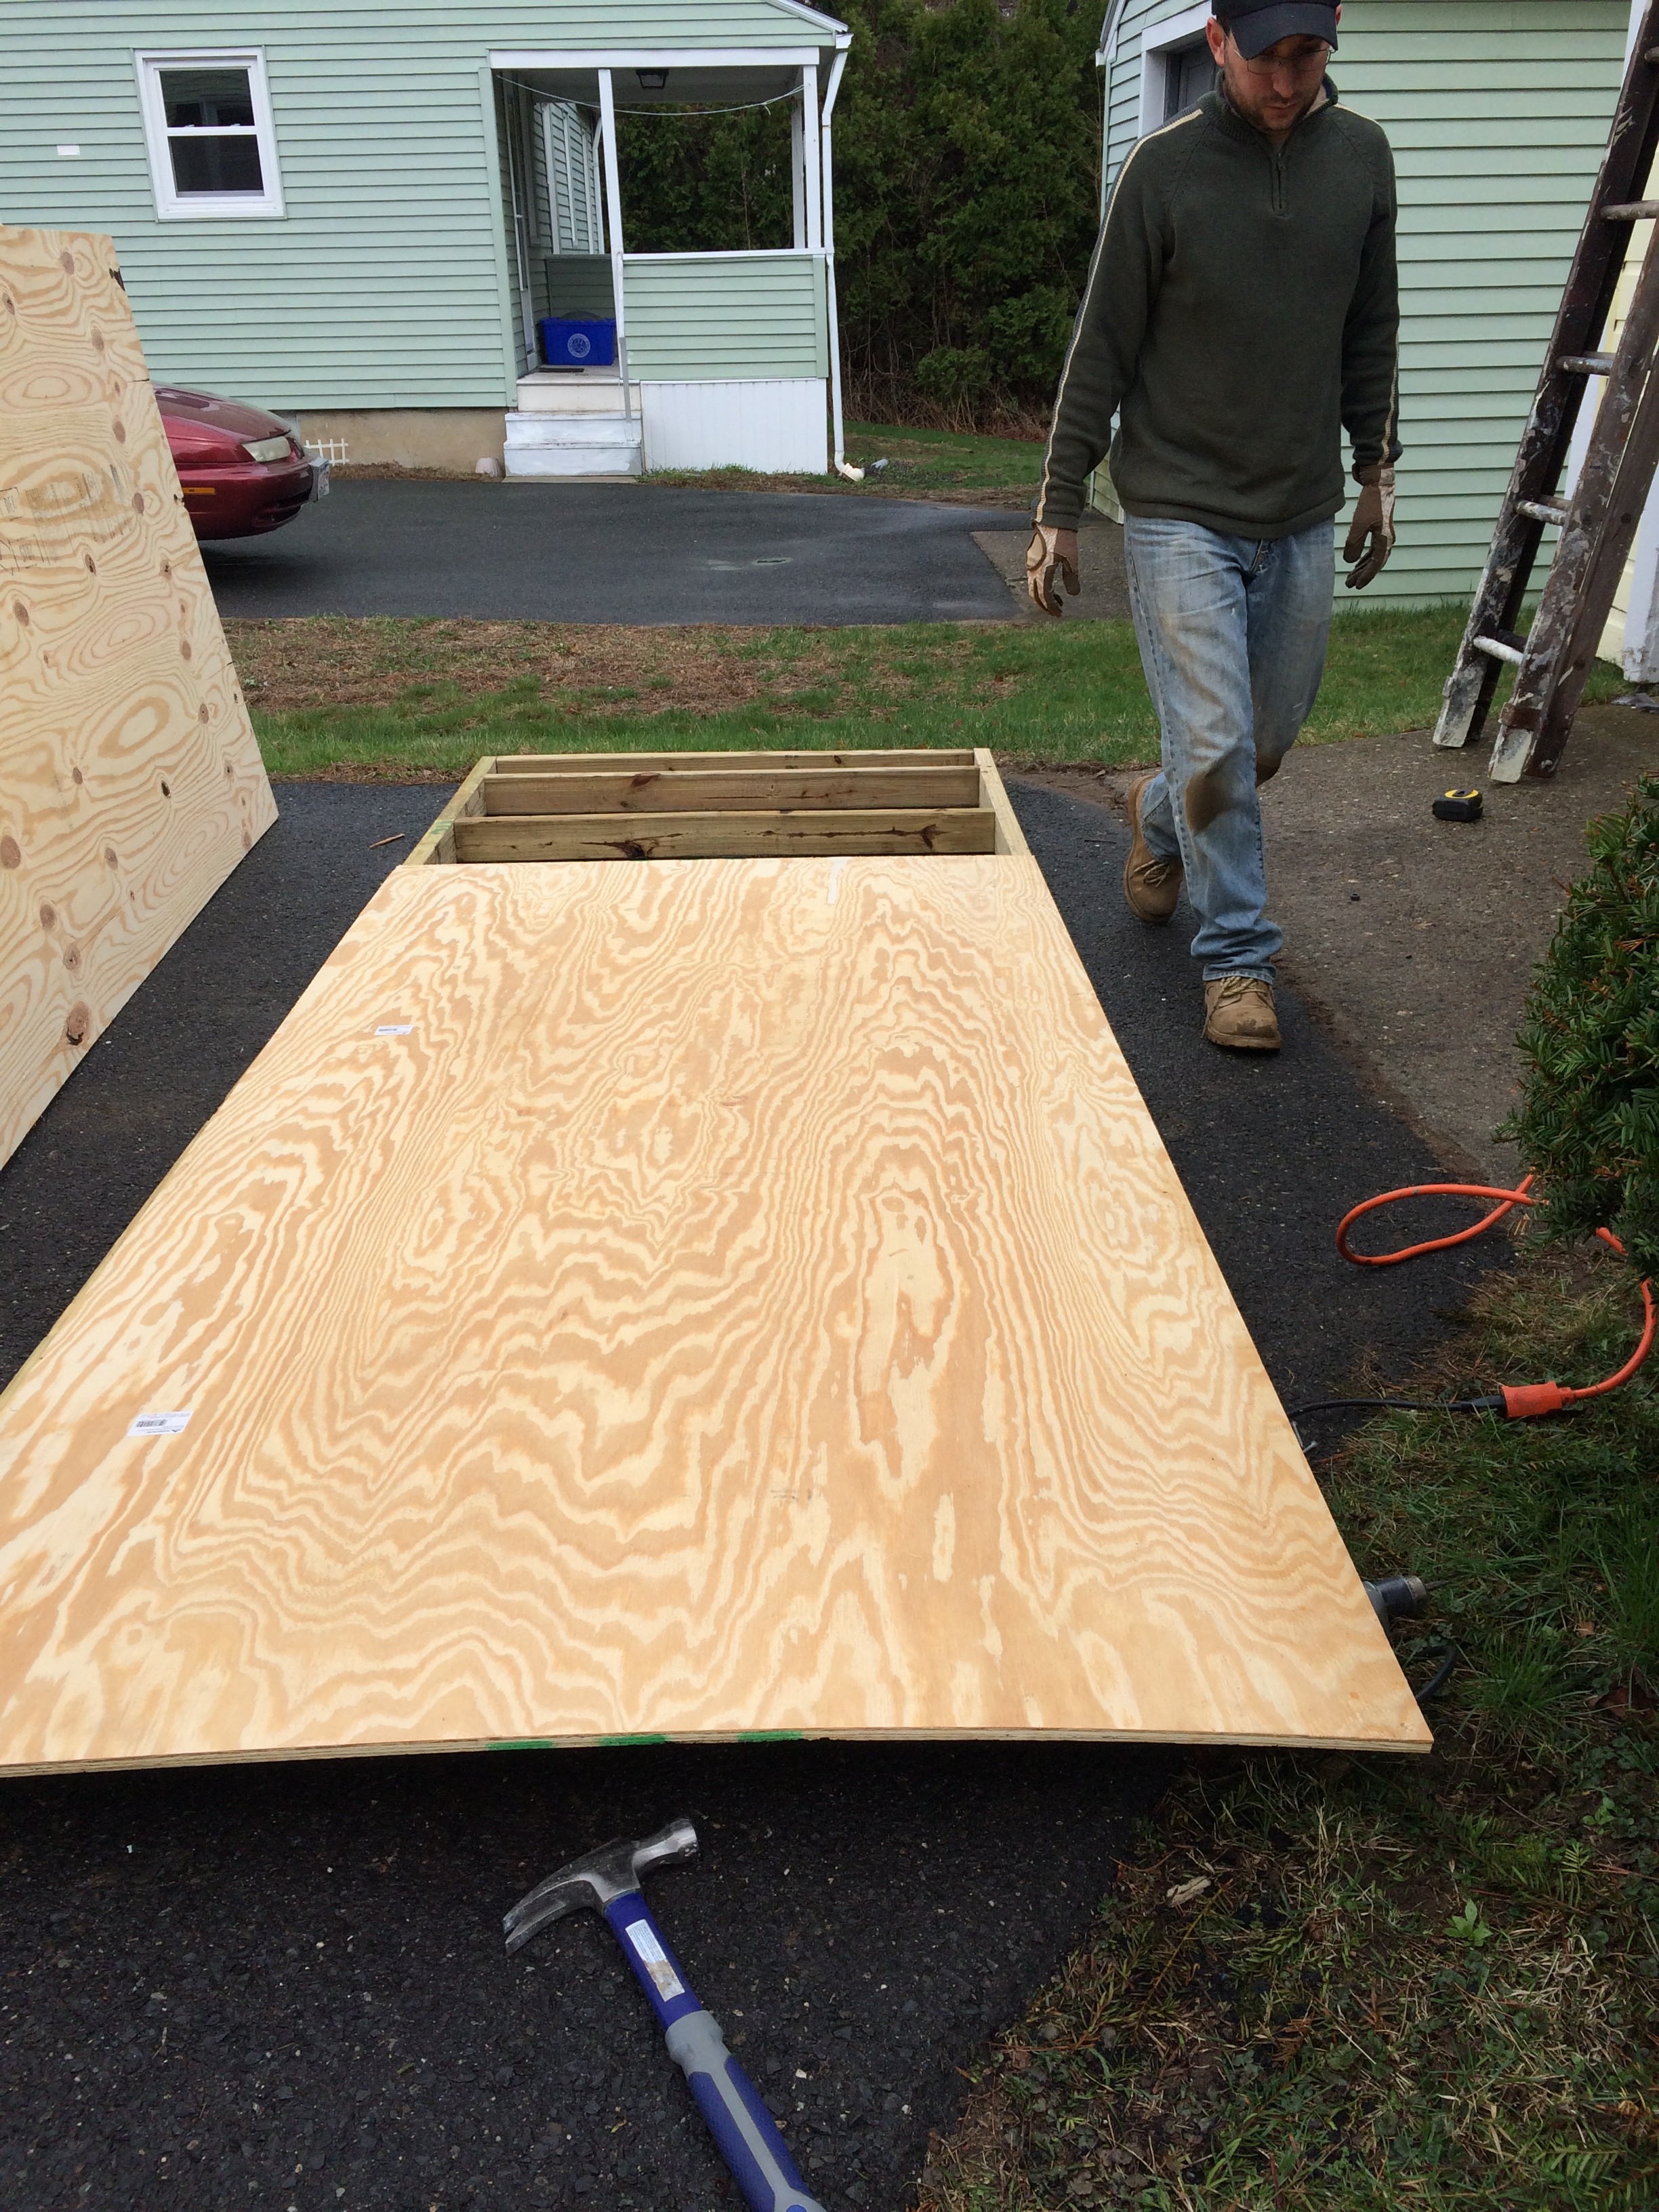
I didn’t grab a picture due to the occasional rain and an expensive phone, but you can see the framing at the end there. We overhung the plywood so we could cut it precisely to the floor’s frame dimensions.
We then framed out the floor using ten foot sides for the long side and 4 feet width for the “front”. We put 2x4s every 16 inches and covered it with 1/2 inch thick plywood. This was then placed on top of the skids and nailed in. Later, we will dig a trench, a foot down, and bury chicken wire that has 1/2 holes and that has been cut to be 1 foot and 6 inches tall. It’ll be buried a foot deep and the rest stapled to the walls when they go up.
After the floor we started framing the long side wall, which I will describe in a different upcoming post. We accomplished a lot for one day, especially after spending 2 hours in the morning at Home Depot where we purchased all our material. Buying used is important to me, along with spending less money, I love the recycling philosophy. Yesterday we took a trip to EcoBuilding Bargains, a restore in Springfield, MA. There we purchased our door and two windows. In all we spent $120, that would be the cost of one window!
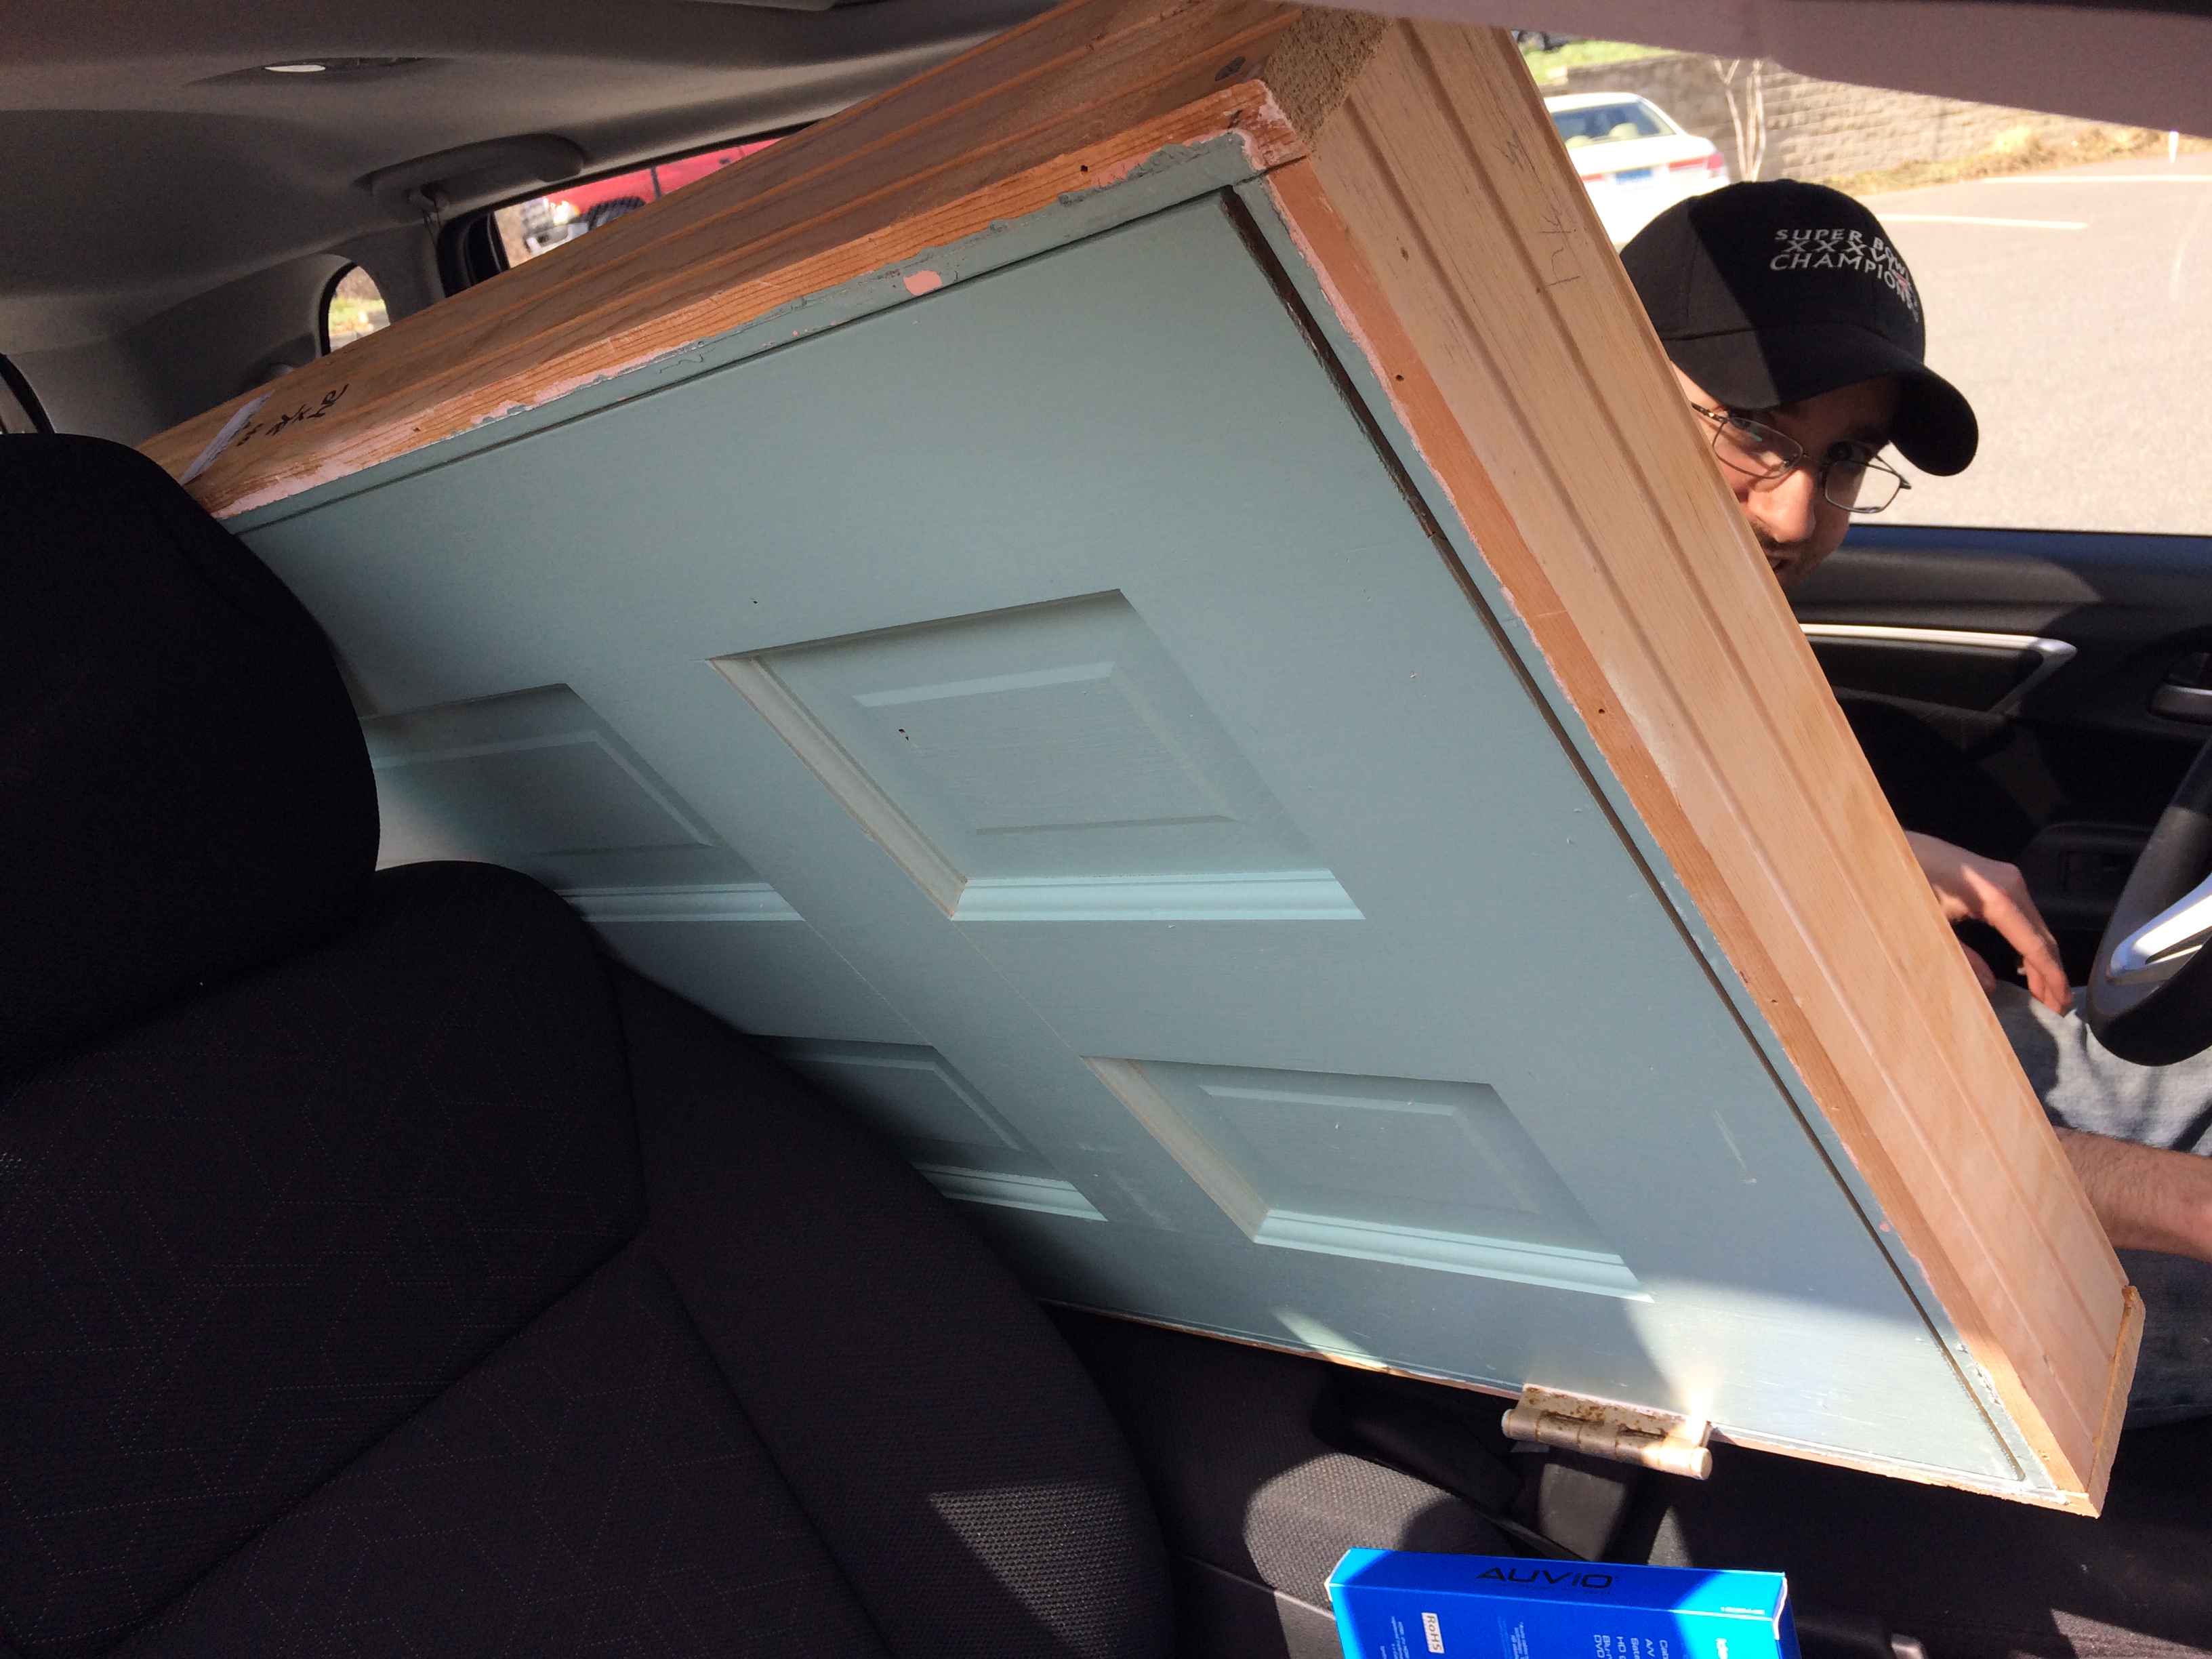
We didn’t have the truck available so we transported the windows and door in my little Honda Fit, lets just say it was an interesting ride home!
Share Now!Notes from the Farmer
We have been reusing materials as we go, pulling some framing from our basement. We also found the door and windows at the restore. We also wanted to keep costs down so went with basic new materials. We will give the full breakdown of the costs once we are finished.