After I learned about the principles of Permaculture, I of course wanted to jump right in! First trouble, it was the dead of winter and nothing could grow for months. This doesn’t mean I had to wait to get started with one of the most important permaculture jobs: building soil.
One waste stream you can take advantage of all winter is kitchen scraps. I was not in the position to start an outdoor compost, so the first project was to bring to composting inside and let the worms do the work. Outside of getting over the squimish factor, dealing with worms is quite simple and rewarding. Most of my friends have been quite interested in my little worm farm (except for the few who would care not to know).
Why worms? Well you may have your own reasons because there are so many. With the worm composting (or Vermicompost) we’re focusing on building soil and fertilizer. Especially if you’re taking over a suburban lot, there has been years and years of soil degradation and loss. Building soil will be a top priority and reinvigorating the organic life is key. With an indoor worm bin you’ll be able to take handfuls of works to throw into your outdoor composting bin to kickstart the life, take the compost tea as a concentrated fertilizer, and the worms are also great for fishing bait or feeding various kinds of pets.
After a year of raising the worms, a few mass suicides, and a little confusion, I have a few tips and tricks for starting your own indoor worm farm.
Get started!
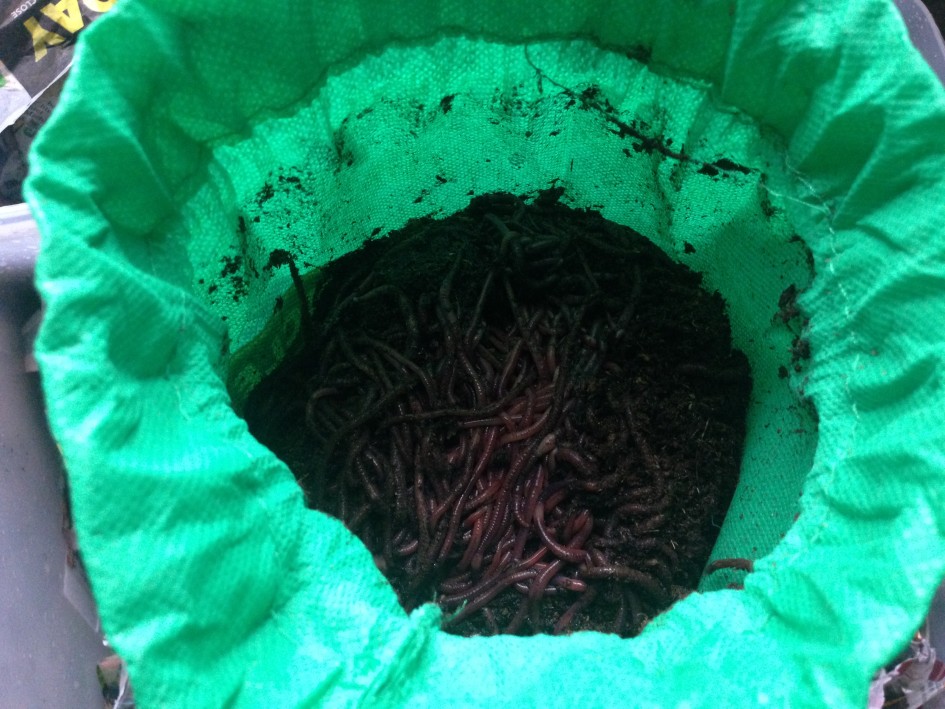
 First step is to get the worms. You can bring them in one by one from outside, get some from a vermicomposting friend, or order them online. I got mine from Uncle Jim’s Worm Farm and of course kept the bag for future use. While they are on order set up your bedding material.
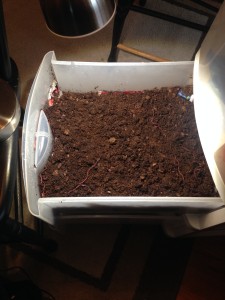
You’ll want to get a few newspapers and rip them into little shreds as a bedding material. You want them damp and you want to give a lot of air space. The worms will need plenty of room to move around. When you get the worms also make sure to give them plenty of starting material. Add in some green matter from the yard and a good amount of vegetable scraps to start.
One tip, when you first transplant the worms keep a light shining on the top of the soil for a few days to encourage them to assimilate to their new environment. They may try to escape early on if they have just been transplanted.
Choose your container type
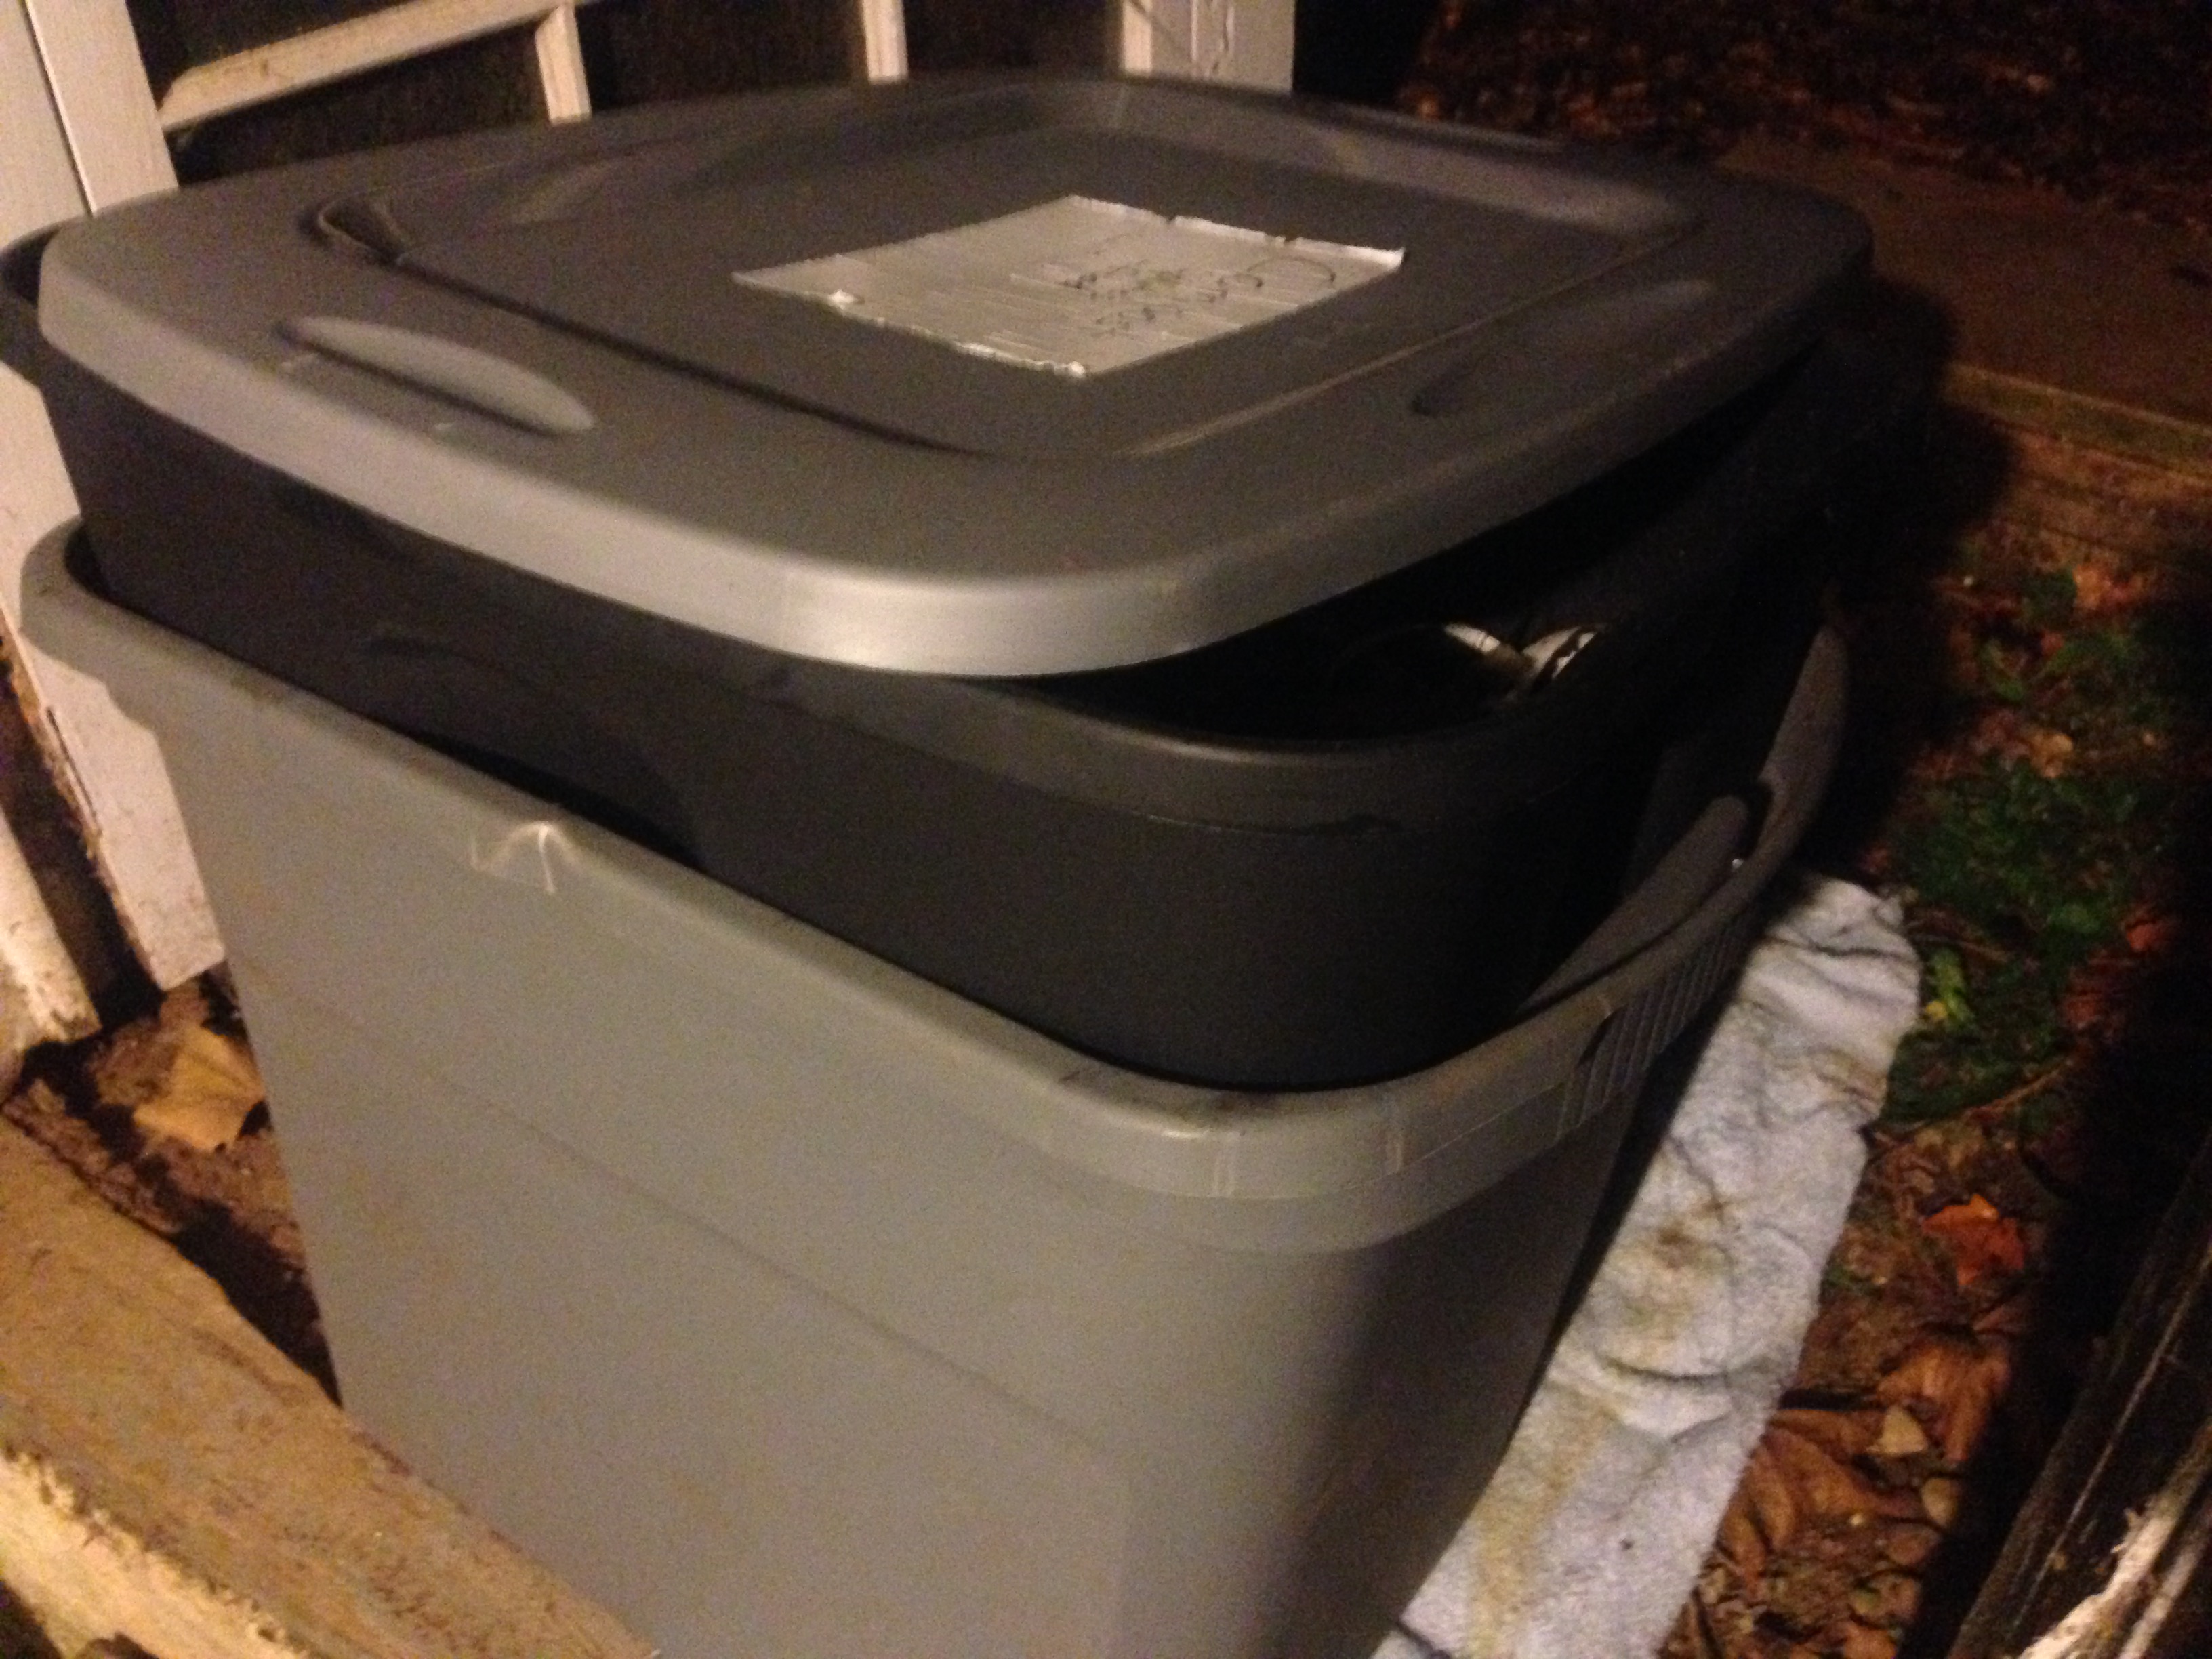 We now have 2 different worm bins as we experiment with different methods. The first method is using large plastic totes. The pros to this system are better moisture retention, better light control, less likelihood of escaping worms, and faster production of worms because of more space. The cons to the larger containers are the extra space they take up. We’ve moved ours around from the porch to the garage, and now to the basement for the winter. You will be less able to hide this type of bin, but you will get the increased production. Take care not to close the container air tight and drill plenty of air holes in the top.
 The second type we have is a plastic drawer set with different pull out drawers for your worms to move in and out of. The idea behind using drawers is the worms can migrate up to the different levels through holes in the bottom of the drawers. This would all you to fill up one of the drawers and have the worms migrate to the upper drawer in search of better food sources. So far I’ve yet to get this system really producing, but have come across some pitfalls of this system.
Keep conditions optimal
Make sure you keep adequate amount of bedding and also be sure to add lots of vegetables and scraps. When the soil dries out the worms head for somewhere better (which indoors means dying on the ground). Don’t worry about having worms crawling all over your house though. By the time they get dehydrated enough to leave the soil, they don’t have long to live as they usually make it as far as the ground before becoming hardened corpses.
Be careful however, if conditions become too wet you will have to contend with the fruit flies or furry mold. Make sure there is good airflow, proper mix of newspaper with the vegetables, and good drainage to allow the worms to do their work.
Have Fun
Let the worms do their work, and stay aware and respond to the needs of the bin. If conditions get too dry, keep adding more kitchen scraps or supplement with some outdoor greenery. If too wet add some newspaper, make sure it is able to drain and get good airflow.
Most of all, have fun with the new experiment. Show your friends and spark a discussion. They may be surprised to know they’ve been in the same room as hundreds of worms and they didn’t even know it.
Share Now!